
Application Guide

Before you begin
Make sure you've got the basics.
There's a reason hairdressers wear black. Now is not the time for fresh, white linens. Change into something that's okay to get dirty. We prefer something oversized for max comfort, and button-up for max convenience. Feeling cheeky? Just knickers works too.
Our colour works fast. It knows you've got places to be and people to see. But right now, it's all about you. Find yourself time where you won't be disturbed — 15 minutes is all you need. After all, you don't want to get distracted with dye in your hair.
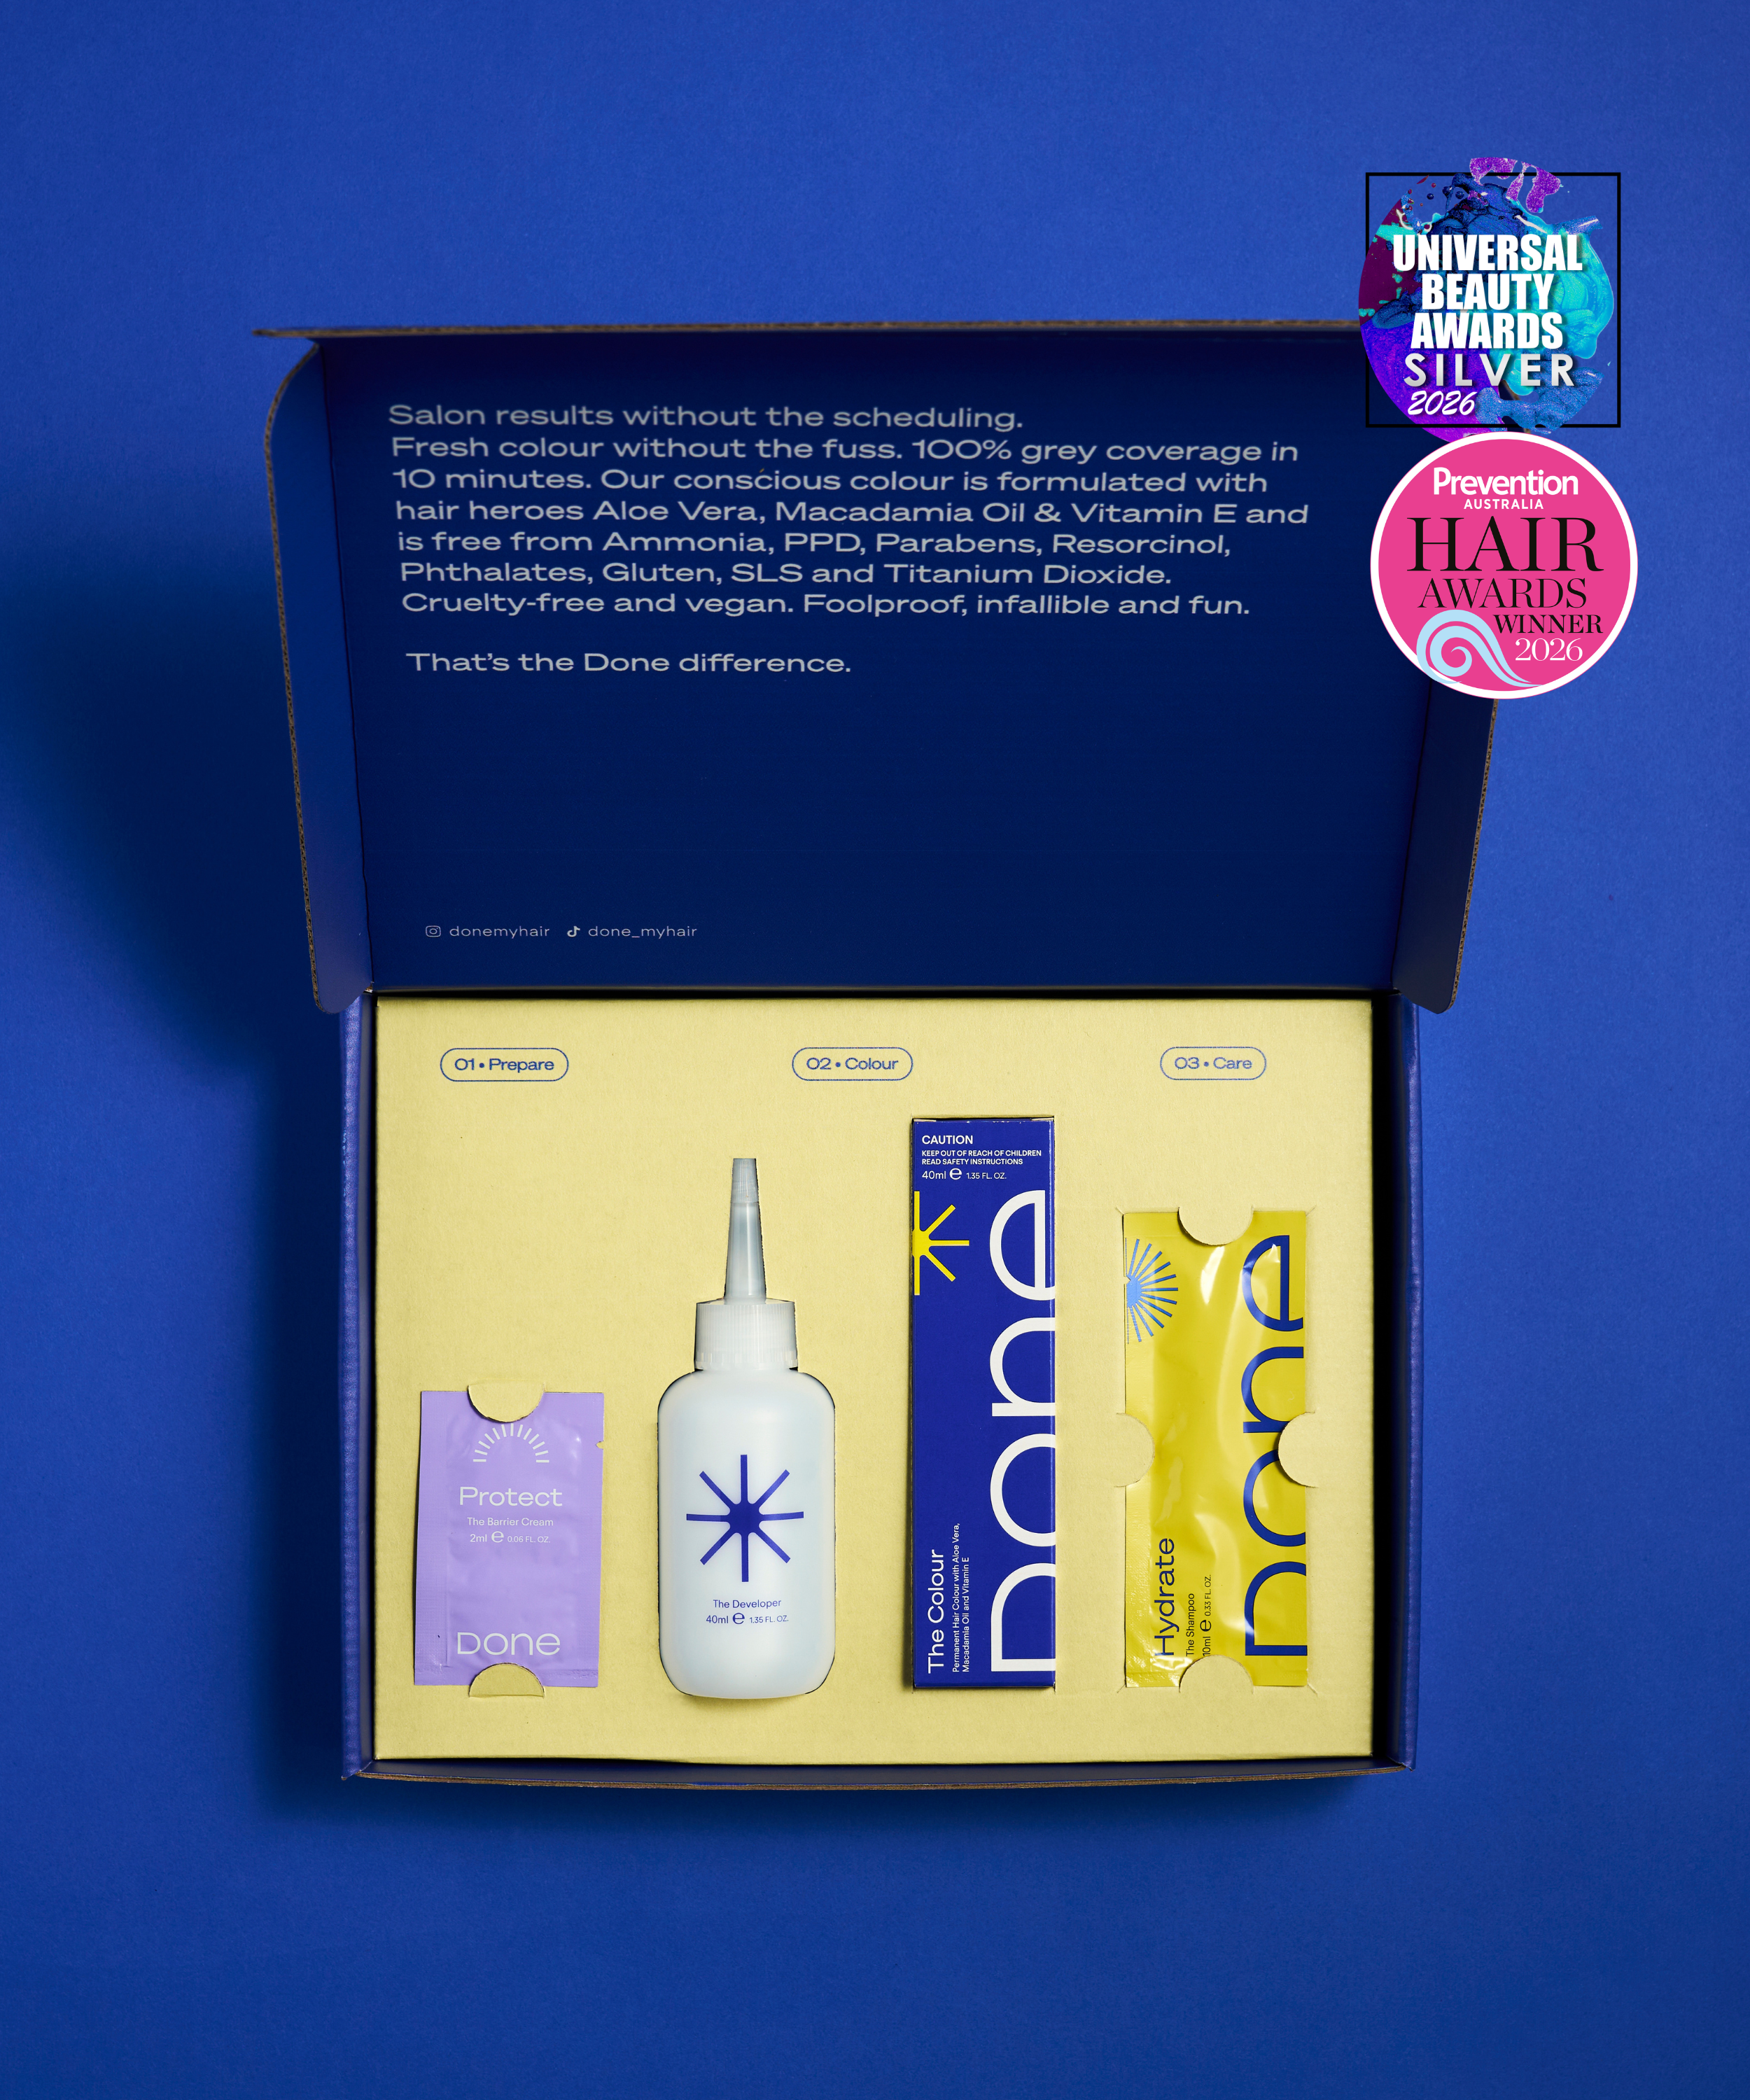
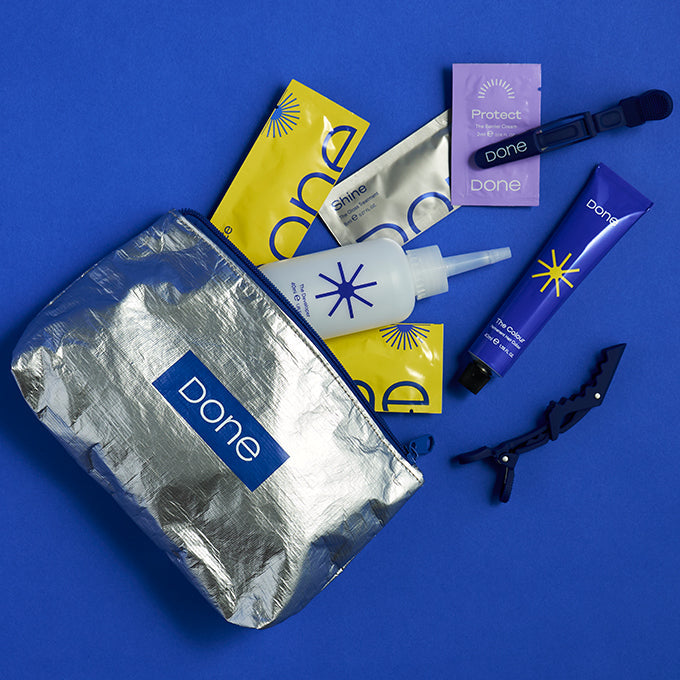
We've designed our Ultimate Root Retouch Kit to include everything you need. The Developer bottle has a precision-perfect nozzle and is just the right amount of squeezy to apply dye exactly where it's needed. But if your inner artist is calling, you can also use a bowl and brush. We're 100% biased, but we'd recommend the Mix Kit.
There is no bad choice! Except using your bare hands.
Repeat after us: "I've got this. Retouching my roots is foolproof, infallible and fun. Time for myself is not time wasted."
Excellent. Let's do this!
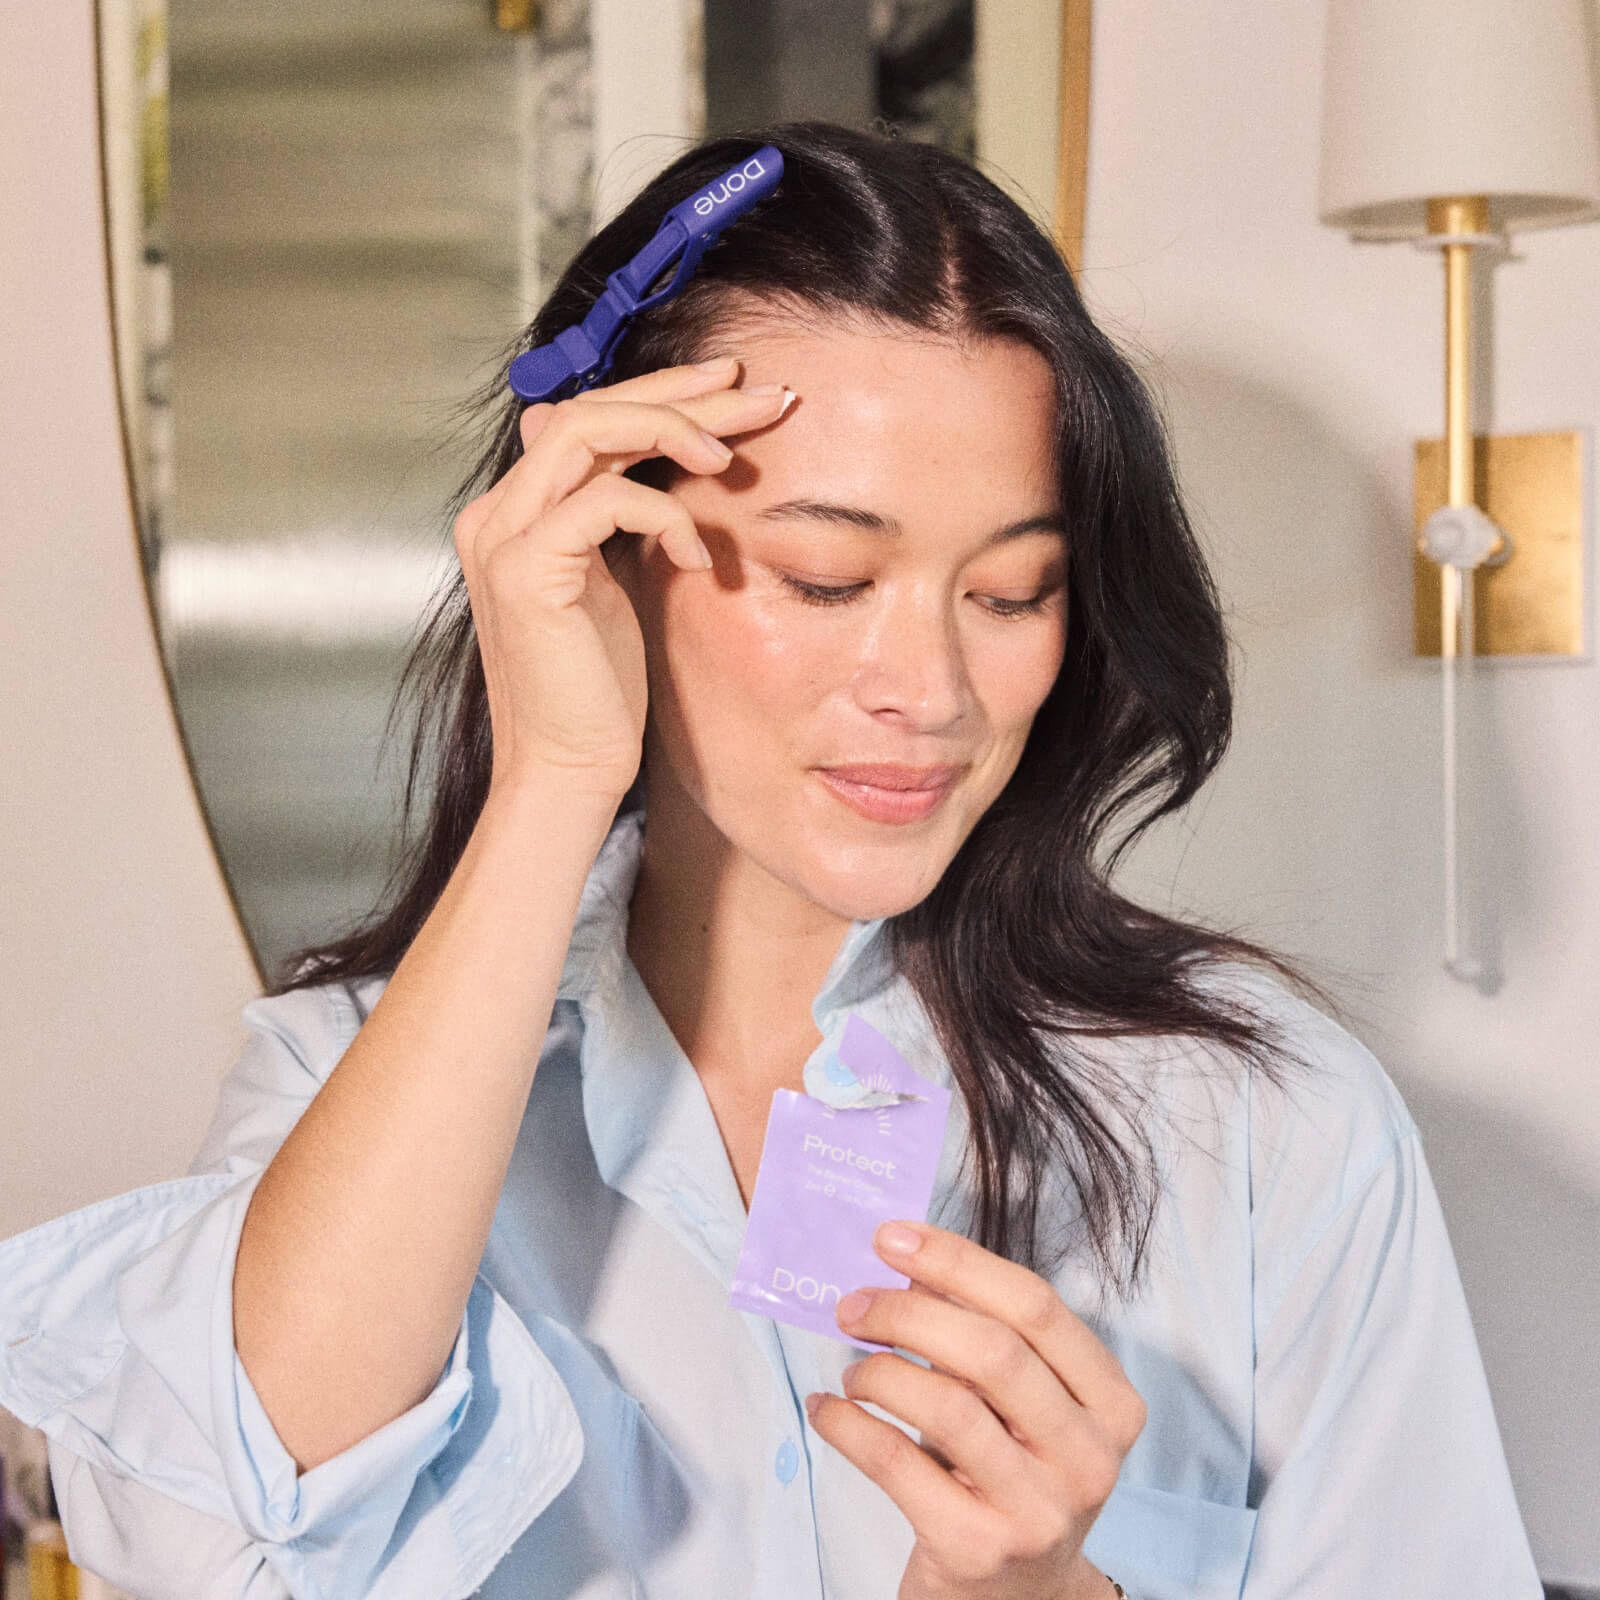
The prep step
Apply the Done Barrier Cream directly to the skin around your hairline and ears to avoid staining.
Next, decide whether you want a quick T-zone touch-up or a full root retouch. Here's the difference:
T-Zone Touchup - targets the most visible areas - your part and hairline. It's quick, does the trick and perfect for banishing sneaky greys before a big event.
Full Root Retouch - tackle all grey roots, not just the ones on show. Rather than focusing on your T-Zone, this takes care of regrowth all over your scalp. It's great if you wear your hair up or if the greys have set up shop all over your head.
The mane event
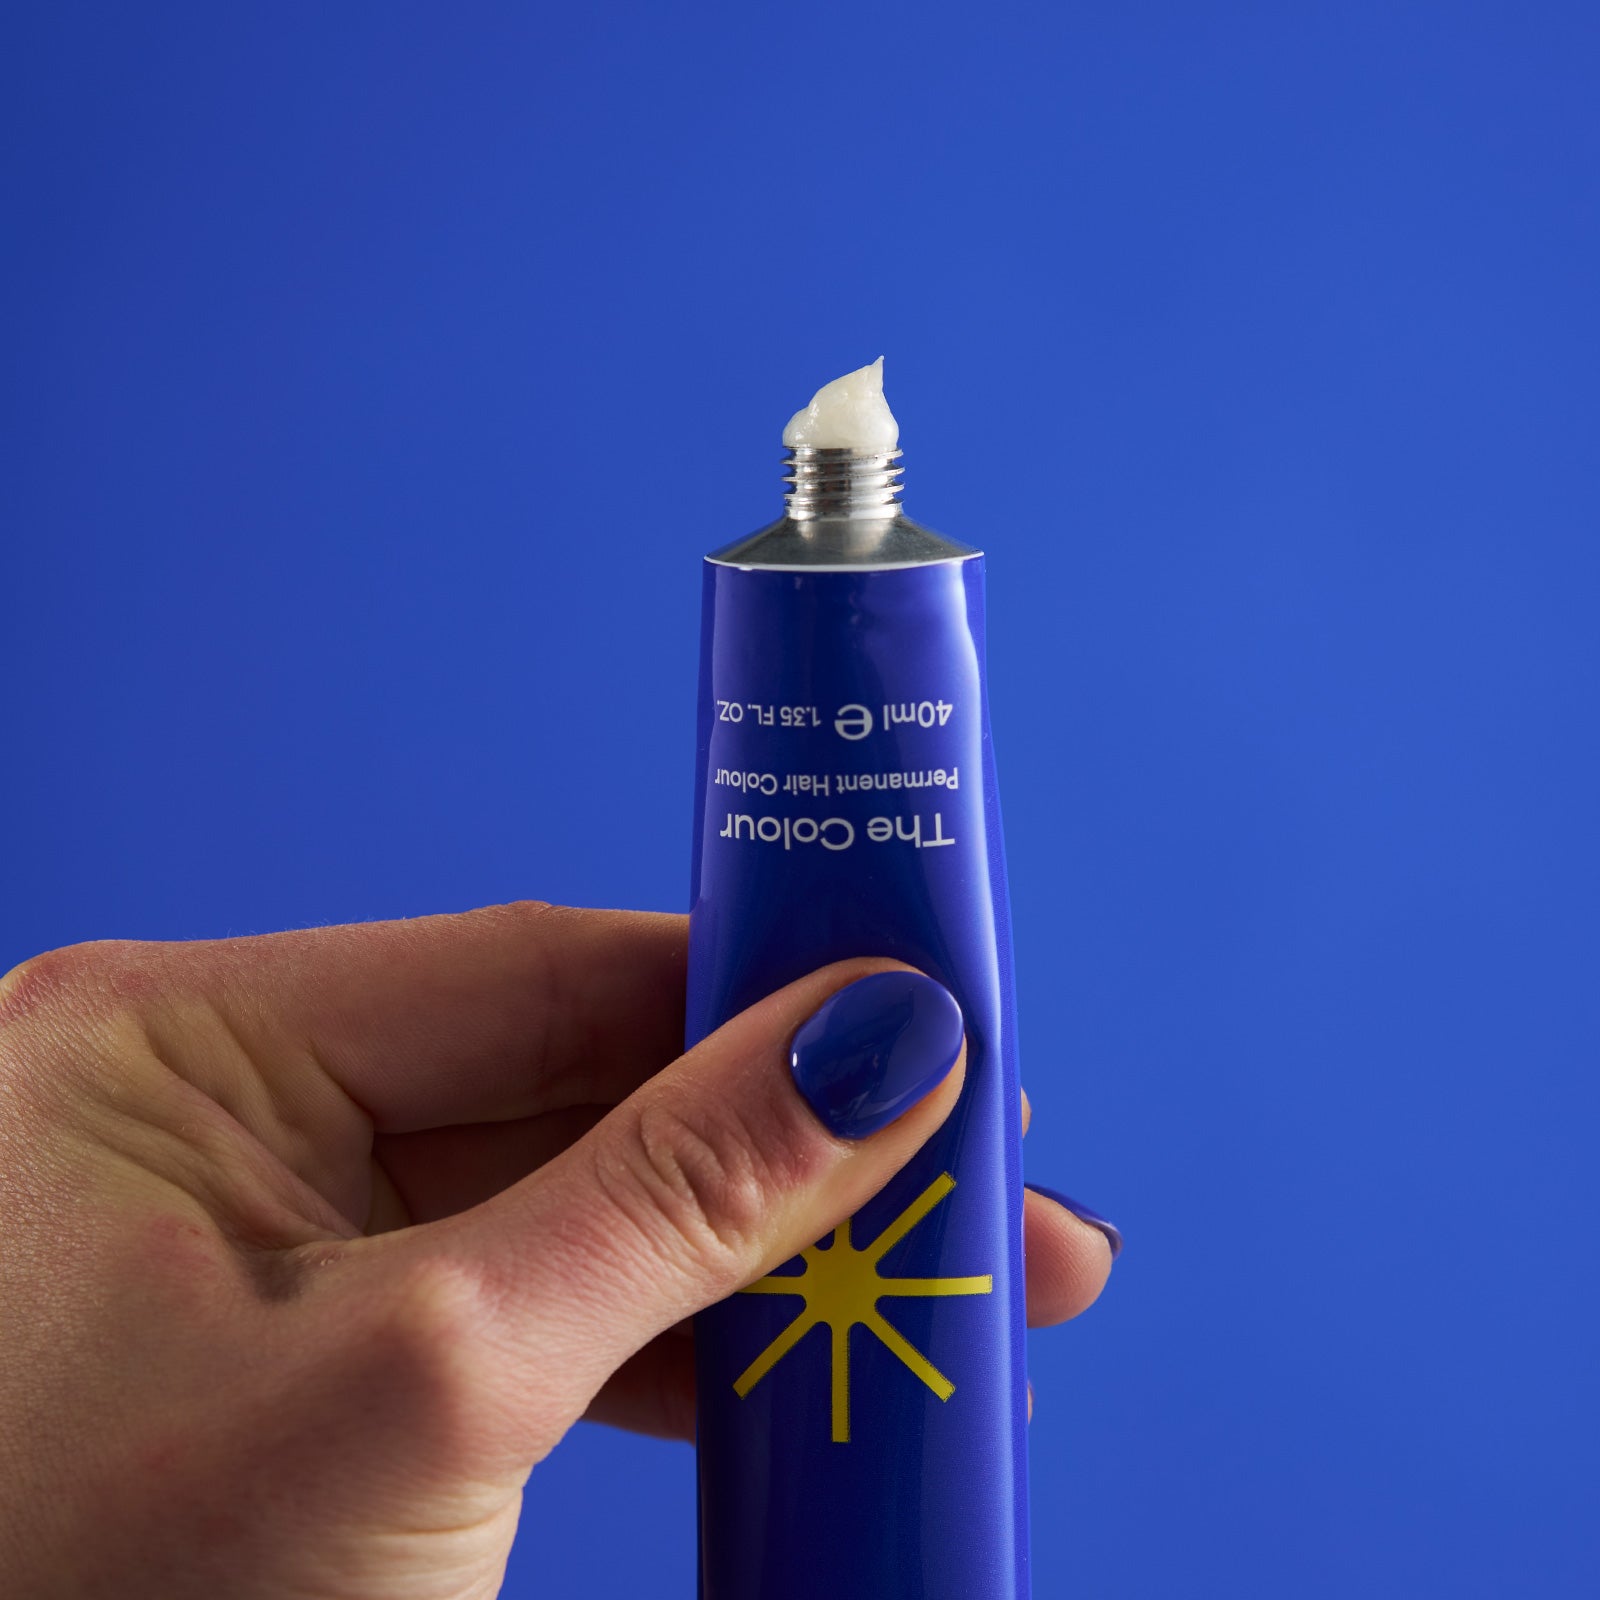
Trust us - wear the gloves. They’re not fashionable but strictly non-negotiable. Squeeze the entire tube of ‘The Colour’ into ‘The Developer’ bottle. Replace the cap on the developer bottle (make sure it’s on tight!) and shake vigorously until the colour and developer is completely blended.
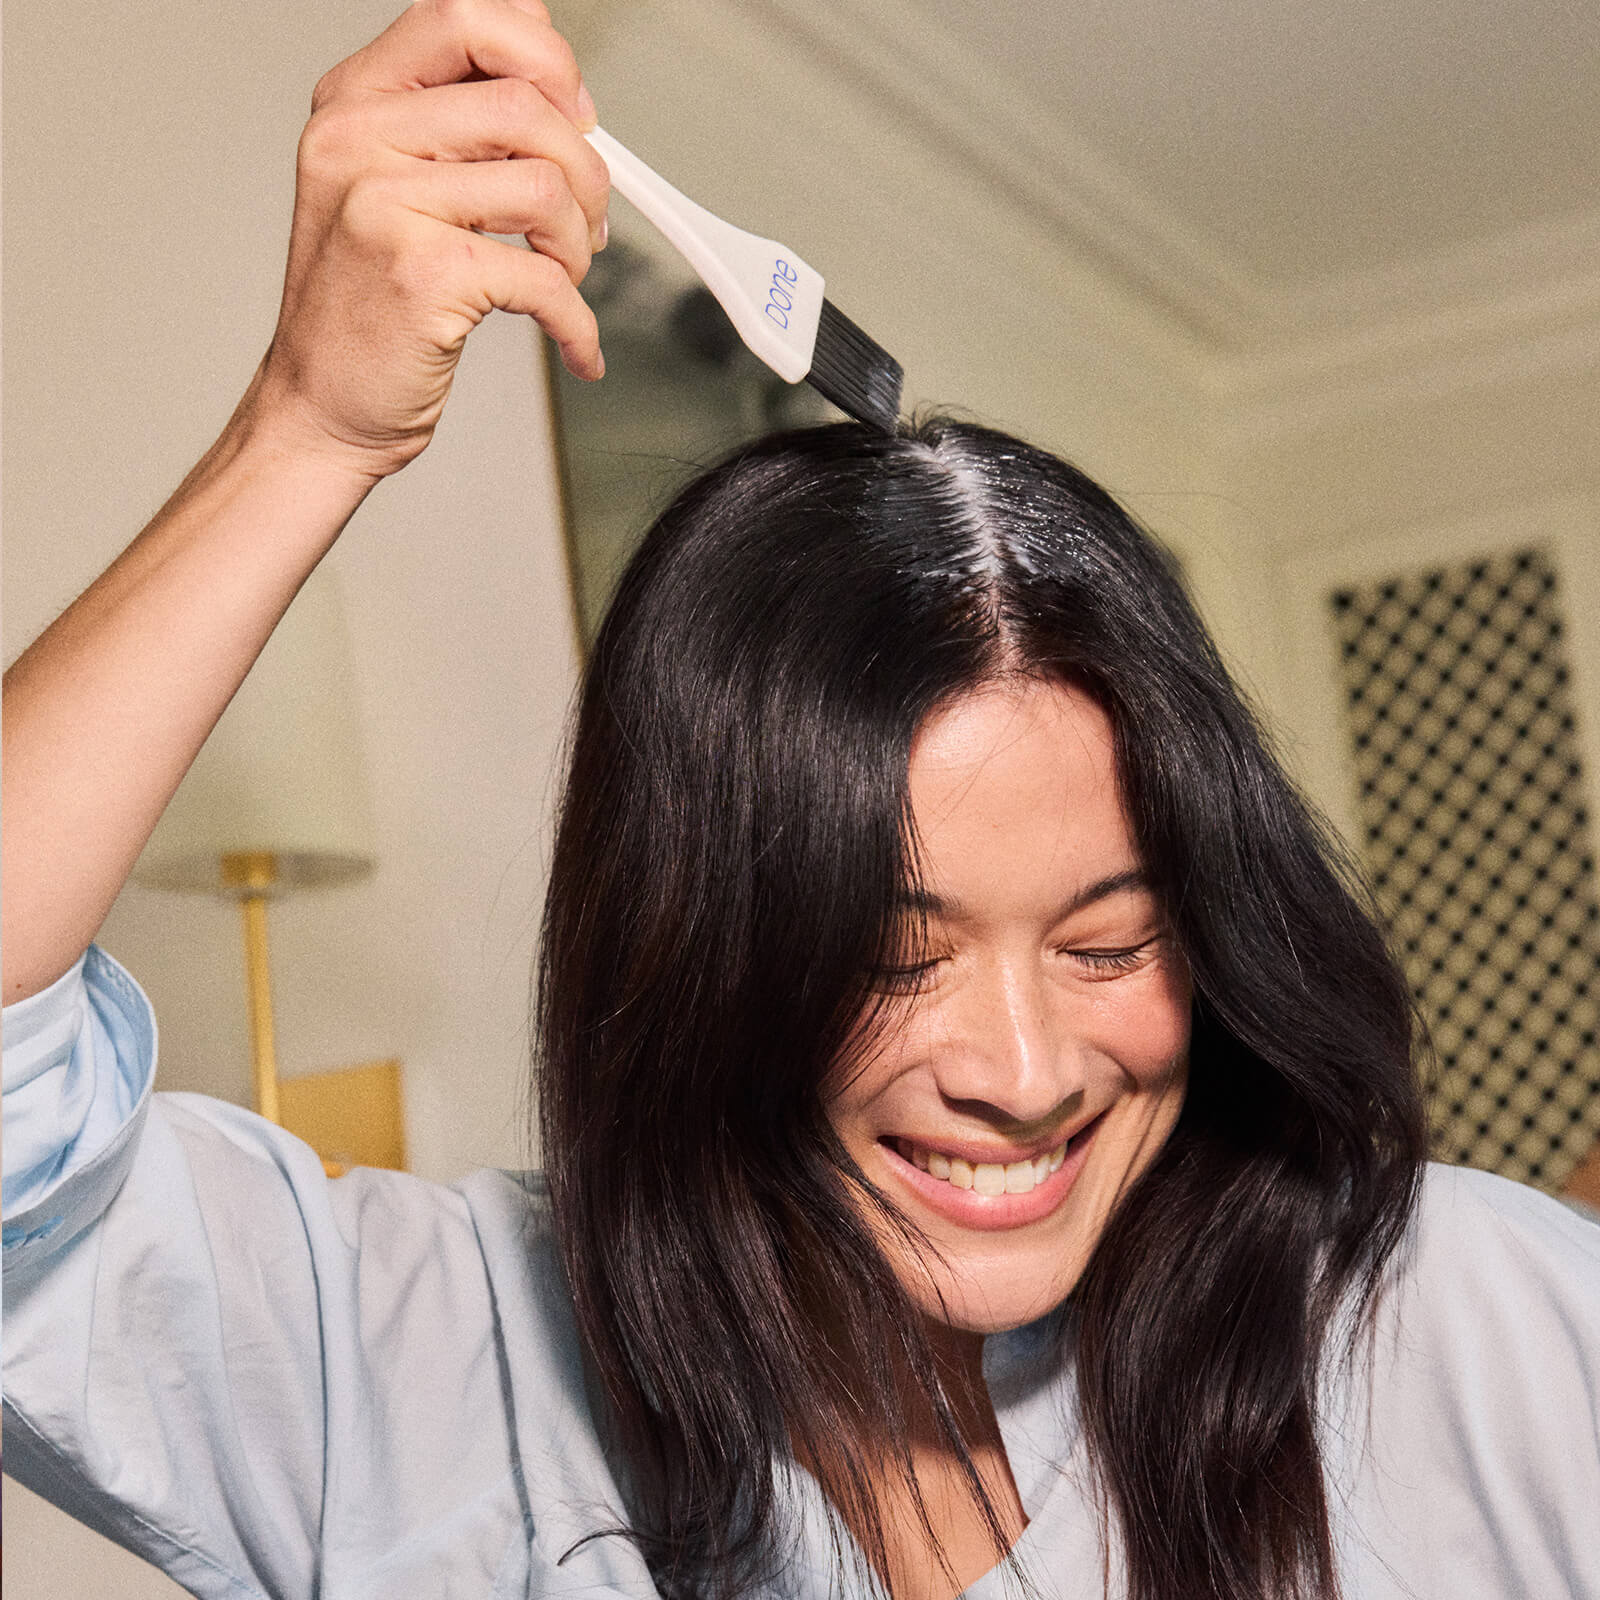
Gently squeeze the developer bottle and apply the dye directly to your grey roots — just your hairline and part line if you want to focus on the T-Zone. If you want a full head root retouch start with the part line and work through the roots in sections from front to back.
Apply enough colour to fully saturate your roots. Use your fingers to rub the colour into hard-to-reach spots and distribute evenly — aren’t you glad you’re wearing those gloves?
Once you’ve finished applying the dye, set a timer for 10 minutes. Give your gloves a rinse and save them for the shower.
It's time to shine
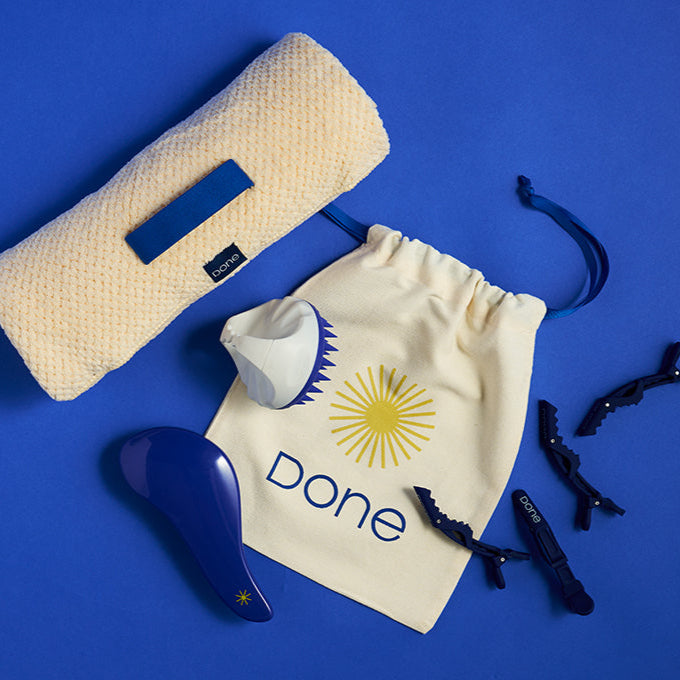
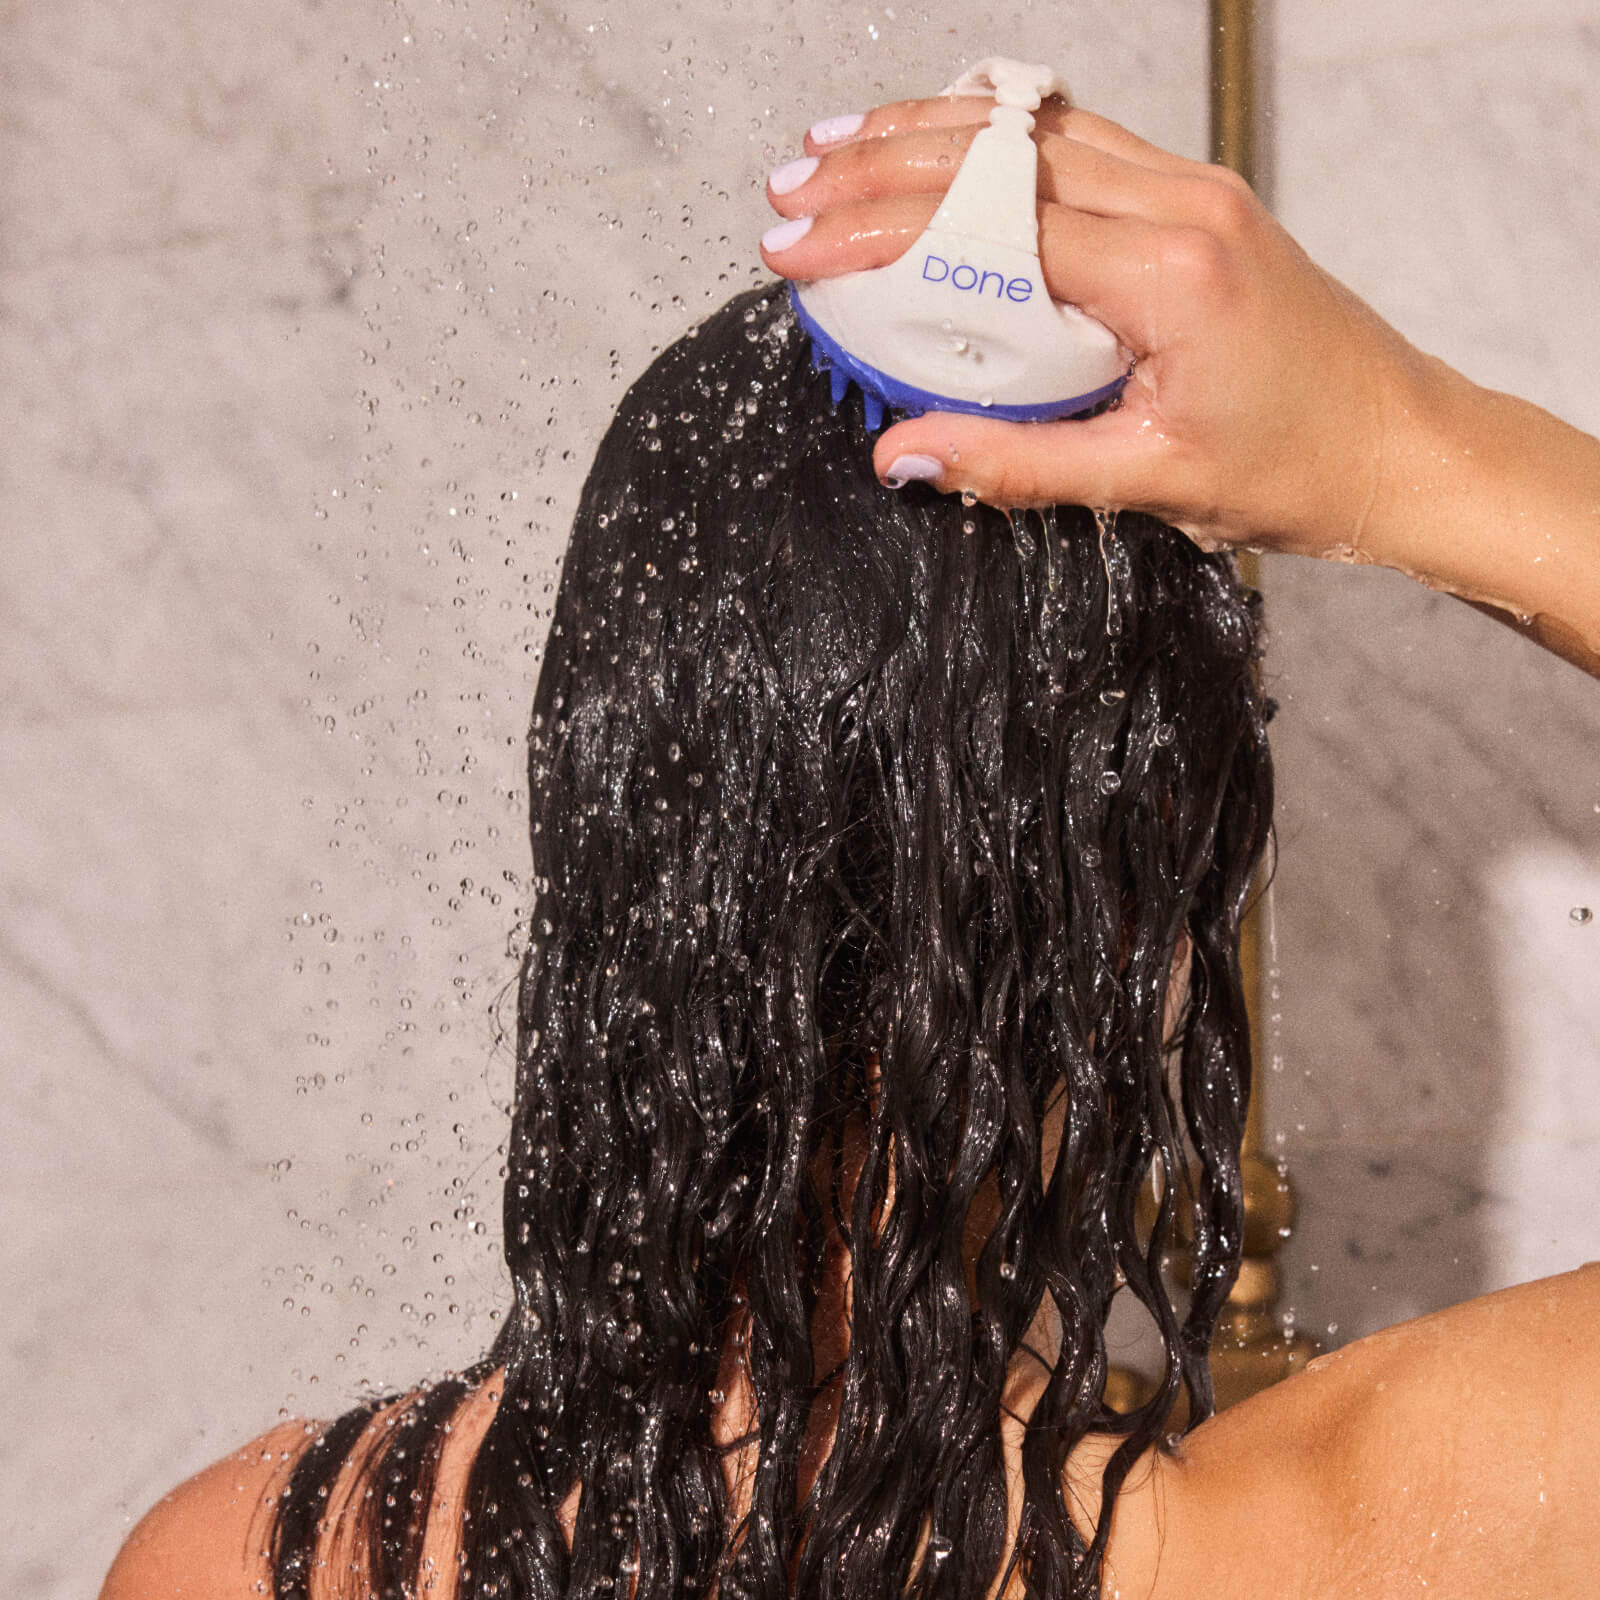
When 10 minutes is done, jump in the shower and rinse off the colour. If you have a scalp brush, use this. Not only will you get a salon-worthy massage, it'll help remove any excess colour on your skin too. We know it’s weird to wear gloves in the shower but your nails will thank you. Rinse until the water runs clear.
Next, it’s time to hydrate and nourish your hair with ‘The Shampoo’ and ‘The Conditioner’. Take a moment to enjoy the botanical ingredients and heavenly scent. Comb the conditioner through with a detangling brush.
After cleansing, squeeze excess water from hair and apply ’The Gloss‘ from mid lengths to ends. Rinse out after 15 seconds then wrap your hair up in a microfibre towel. When you're ready, dry it off and style as usual.
Safety first
Allergic reactions often arrive late to the party, so complete a skin sensitivity test at least 48 hours before doing your roots for real. Here's how to do it:
- Combine 1 part colour (a pea-sized amount) with 1 part developer (an equally pea-sized amount).
- Use a cotton swab to apply the test mixture to a small area inside of the elbow or behind your ear.
- Don't rinse it off. Keep dry and wait 48 hours.
- If you have any abnormal reactions, including rash or irritation, please don't use our product. It's much better to have grey roots than a reaction.
