

Root Rescue 101: The Secret to Salon-Perfect Root Coverage
Grey roots? We’ve all been there. Whether you’re chasing a quick fix before brunch or going all-in for a full-head refresh, getting the right root coverage (and the right tools) makes all the difference between “meh” and magnificent.
Let’s break it down - because not all root touch-ups are created equal.
1. T-Zone vs Full Root Coverage
T-Zone Root Cover-Up (aka: The Quick Root Rescue)
What it is: A speedy refresh that targets your most visible roots—your part and hairline. Think of it as your emergency cover-up for the “T” shape (top + temples).
Perfect for: Sneaky greys before dinner, date night, or any “oh-no” mirror moment.
Pros:
-
Fast: Done in minutes - ideal when you need to look polished, fast.
-
Low-commitment: Perfect between full sessions.
-
Keeps your look fresh: Focuses on the spots people actually see first.
Cons:
-
More frequent touch-ups: The rest of your regrowth may show sooner.
Done’s Tip: Think of it as your beauty quickie. High impact, low effort.
Full Root Cover-Up (aka: The Total Reset)
What it is: Complete root coverage across your entire scalp—for when you want all-over freshness.
Perfect for: Those who wear their hair up, have more extensive greys, or just love the satisfaction of a full coverage moment.
Pros:
-
Total coverage: No stray greys hiding out in the back.
-
Longer-lasting: You’ll go longer between retouches.
-
More consistent: Keeps colour uniform all over.
Cons:
-
Takes a bit longer: More area = more time.
-
Slightly messier: Reaching the back can be a workout.
Done’s Tip: Pop on your ex’s old t-shirt and embrace the process - because this one’s worth it.
2. Application Tools: Bottle vs Bowl & Brush
Both get the job done but each has its own pros and cons depending on your confidence and hair type. Here's a side-by-side breakdown:
Done Application Bottle
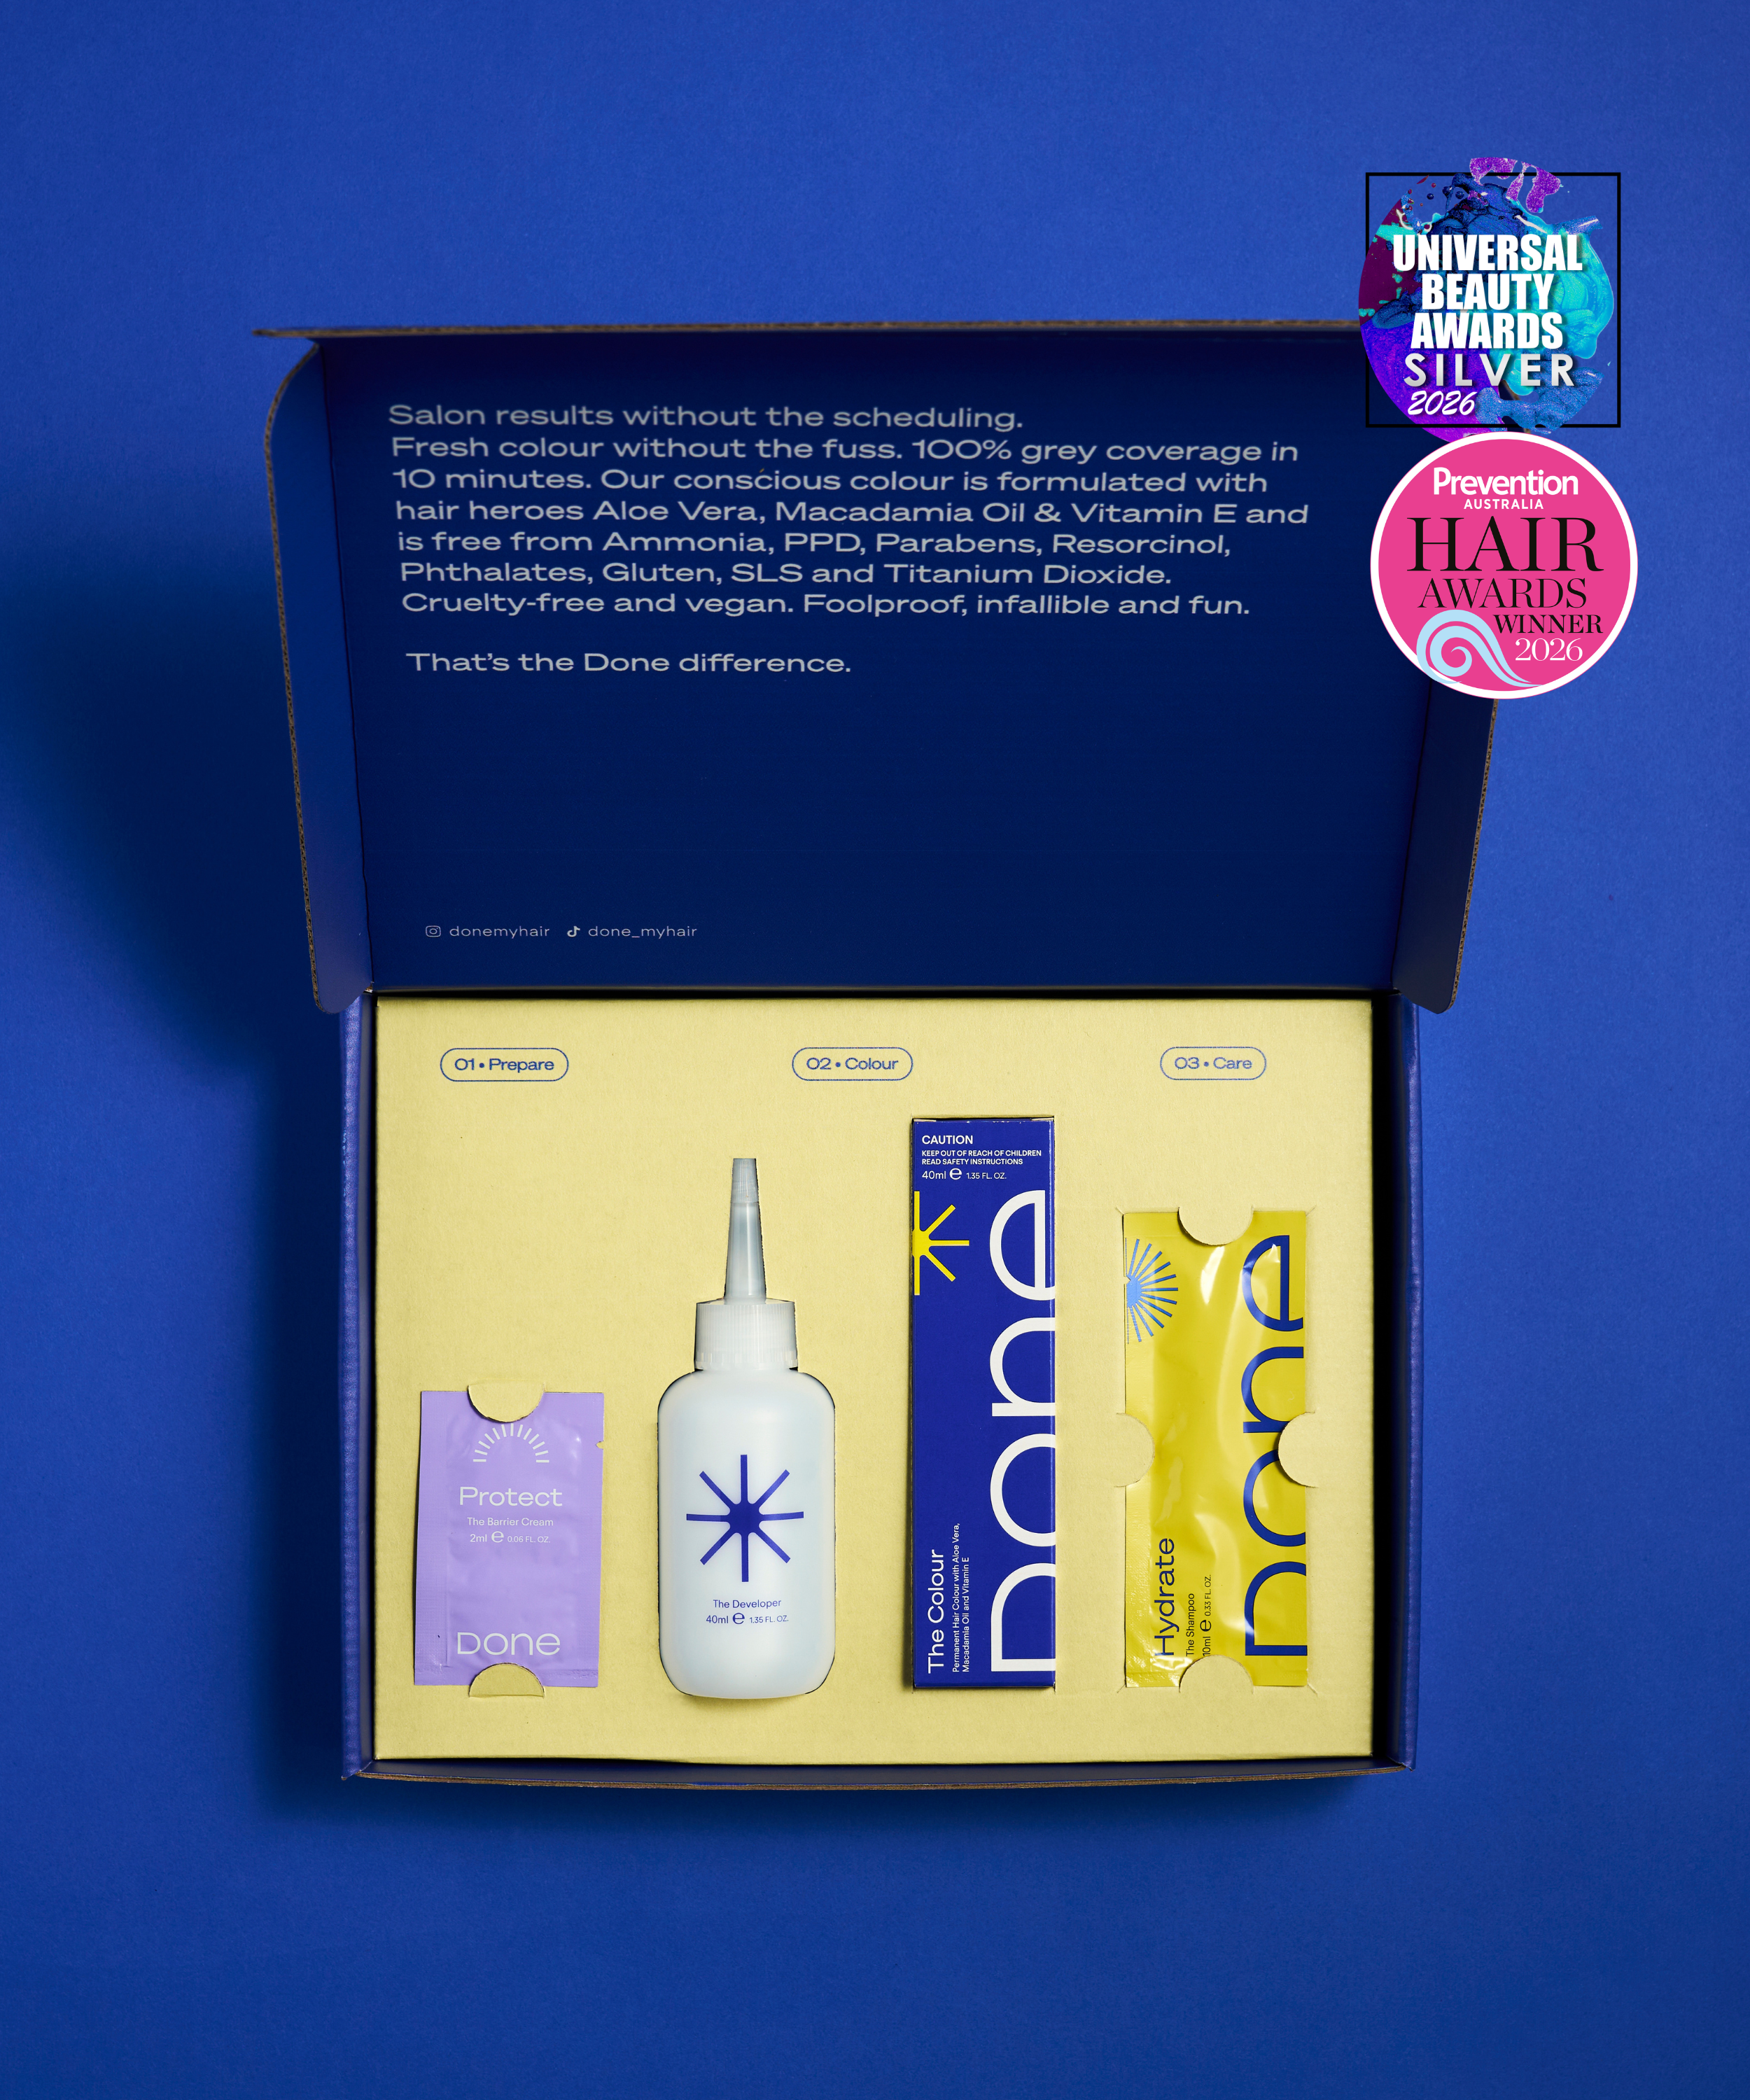
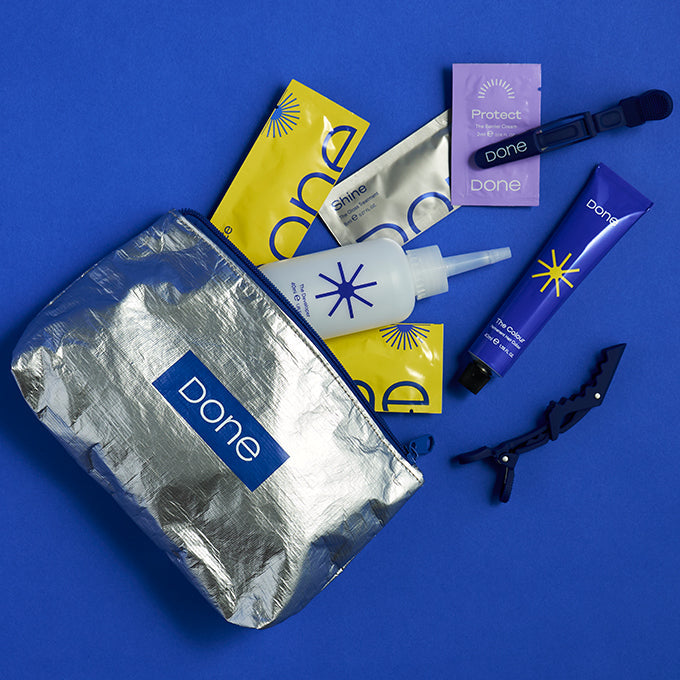
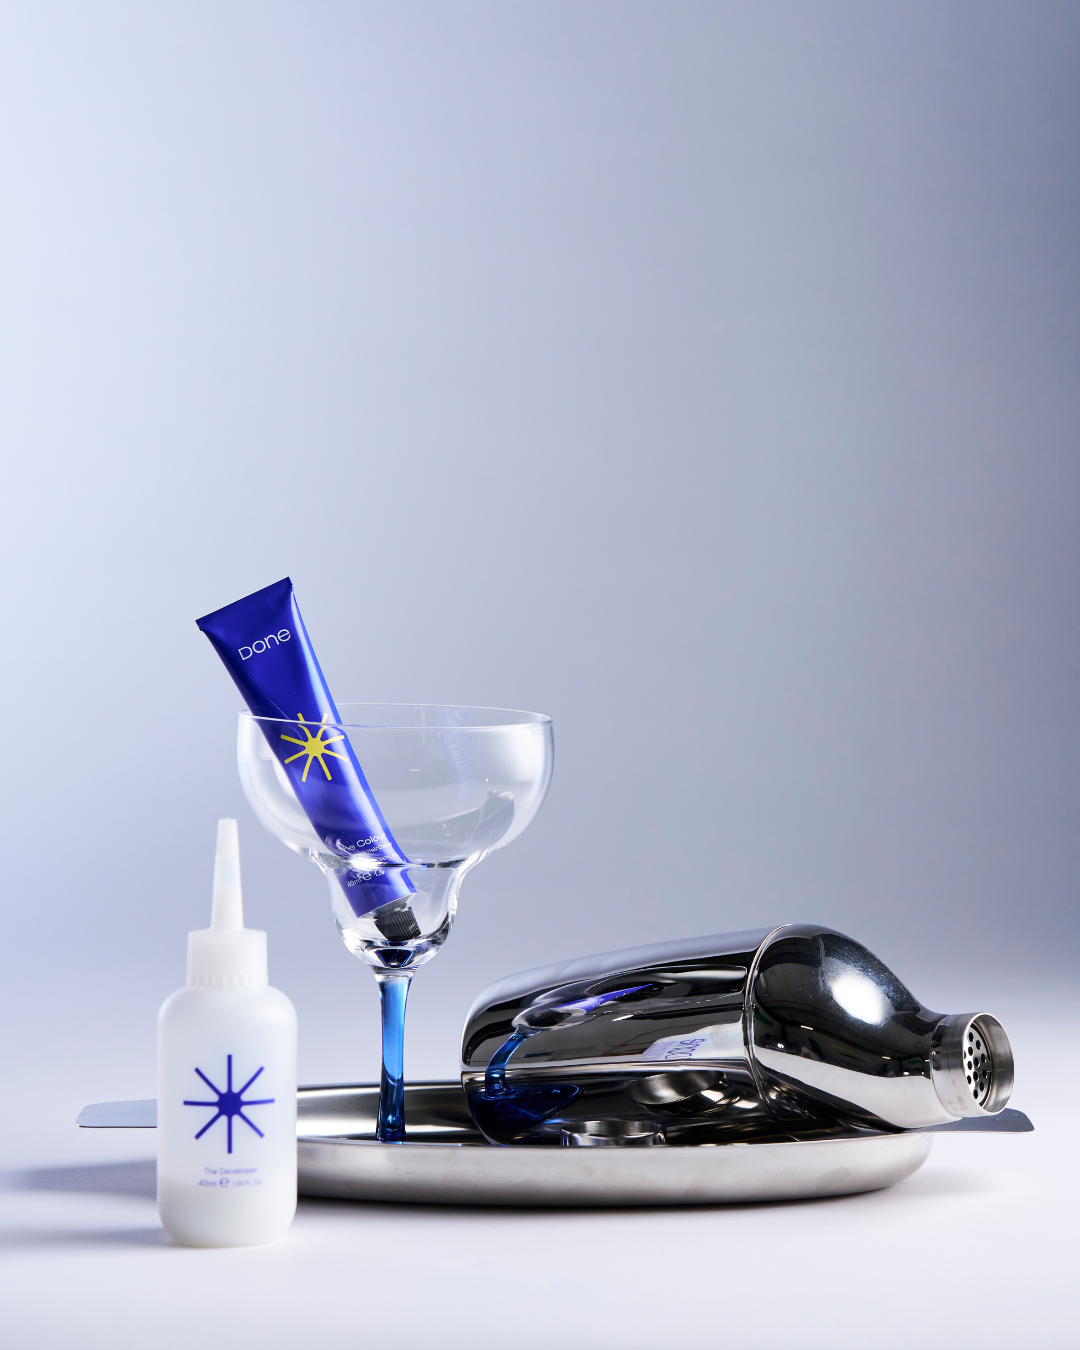
What it is: A squeezable bottle with a precision nozzle. You mix the colour and developer inside and apply directly to your scalp. Every Ultimate Root Re-touch Kit includes one.
Pros:
-
Beginner-friendly: Squeeze, apply, done.
-
Less mess: No bowls, no brushes, no chaos.
-
Fast: Ideal for quick T-zone or touch-up jobs.
Cons:
-
Less precise: Tricky for detailed sectioning or the back of your head.
-
Not ideal for thick or curly hair: Might need extra effort to saturate evenly.
Best for: First-timers or quick refreshers.
Done Tint Bowl + Brush
What it is: A salon-style setup - mix your colour in a bowl, then apply with a brush.
Pros:
-
More control: Great for sectioning and precision application.
-
Salon-level results: You can really work product into your roots.
-
Great for thick hair: Helps distribute colour evenly.
Cons:
-
Takes more time: A little more prep and patience required.
-
Extra clean-up: Two tools, more rinsing.
Best for: Confident colourers or full-head touch-ups.
The Done Verdict
Go bottle if you’re new or short on time. Go brush + bowl if you’re going all in. Either way—you’ve got this.
3. How-To Guides
T-ZONE ROOT RETOUCH
You’ll need: your Ultimate Root Re-Touch Kit and a killer Spotify playlist
5 EASY STEPS:
-
Part it down the middle. Start with dry, detangled hair.
-
Apply colour along your part. Use the nozzle or brush; massage in gently.
-
Tackle the temples. Get those front roots and hairline.
-
Wait it out. Ten minutes—scroll, sip, or dance.
-
Rinse + reveal. Shampoo, condition, gloss. Hello, confidence.
FULL ROOT RETOUCH
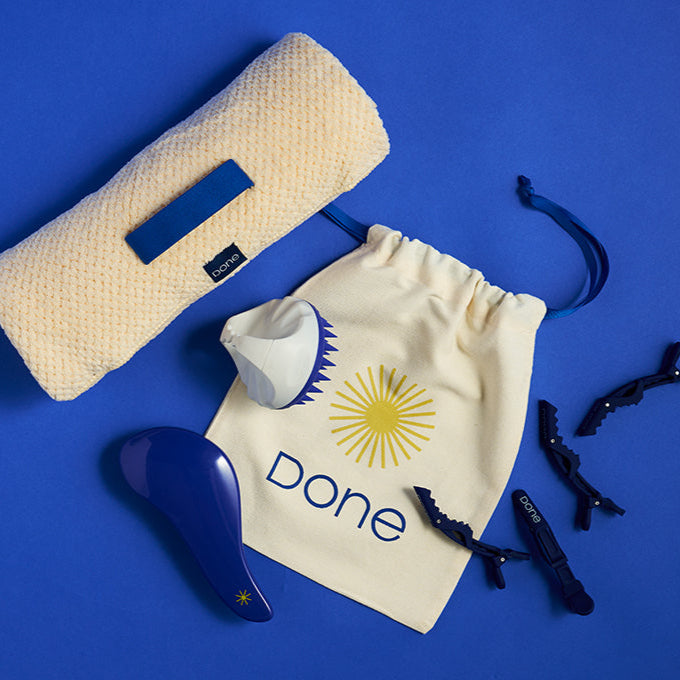
You’ll need: your Ultimate Root Re-Touch Kit, sectioning clips, and that ex’s old t-shirt (you’ll thank us later).
6 EASY STEPS:
-
Section your hair. Four sections—two front, two back.
-
Start at the roots. Apply colour section by section.
-
Move methodically. Front to back, small partings.
-
Check the crown and hairline. No grey left behind.
-
Process. Ten minutes—Done’s signature speed.
-
Rinse + condition. Wash, gloss, flaunt.
* Always do a patch test first. Safety first, always.
For salon-quality coverage at home, shop the Ultimate Root Retouch Kit here.
And remember: You can absolutely do this.
We’re rooting for you.
Related articles
Why does hair go grey? Does stress really cause it? And how do you cover it properly at home? We're busting the myths and giving you the facts on grey hair.

We’re entering an age where we don’t just want hair to look good — we want it to actually be healthy. And it starts at the root.
Why Beauty Editors Everywhere Are Calling Done the Root Maintenance Hero